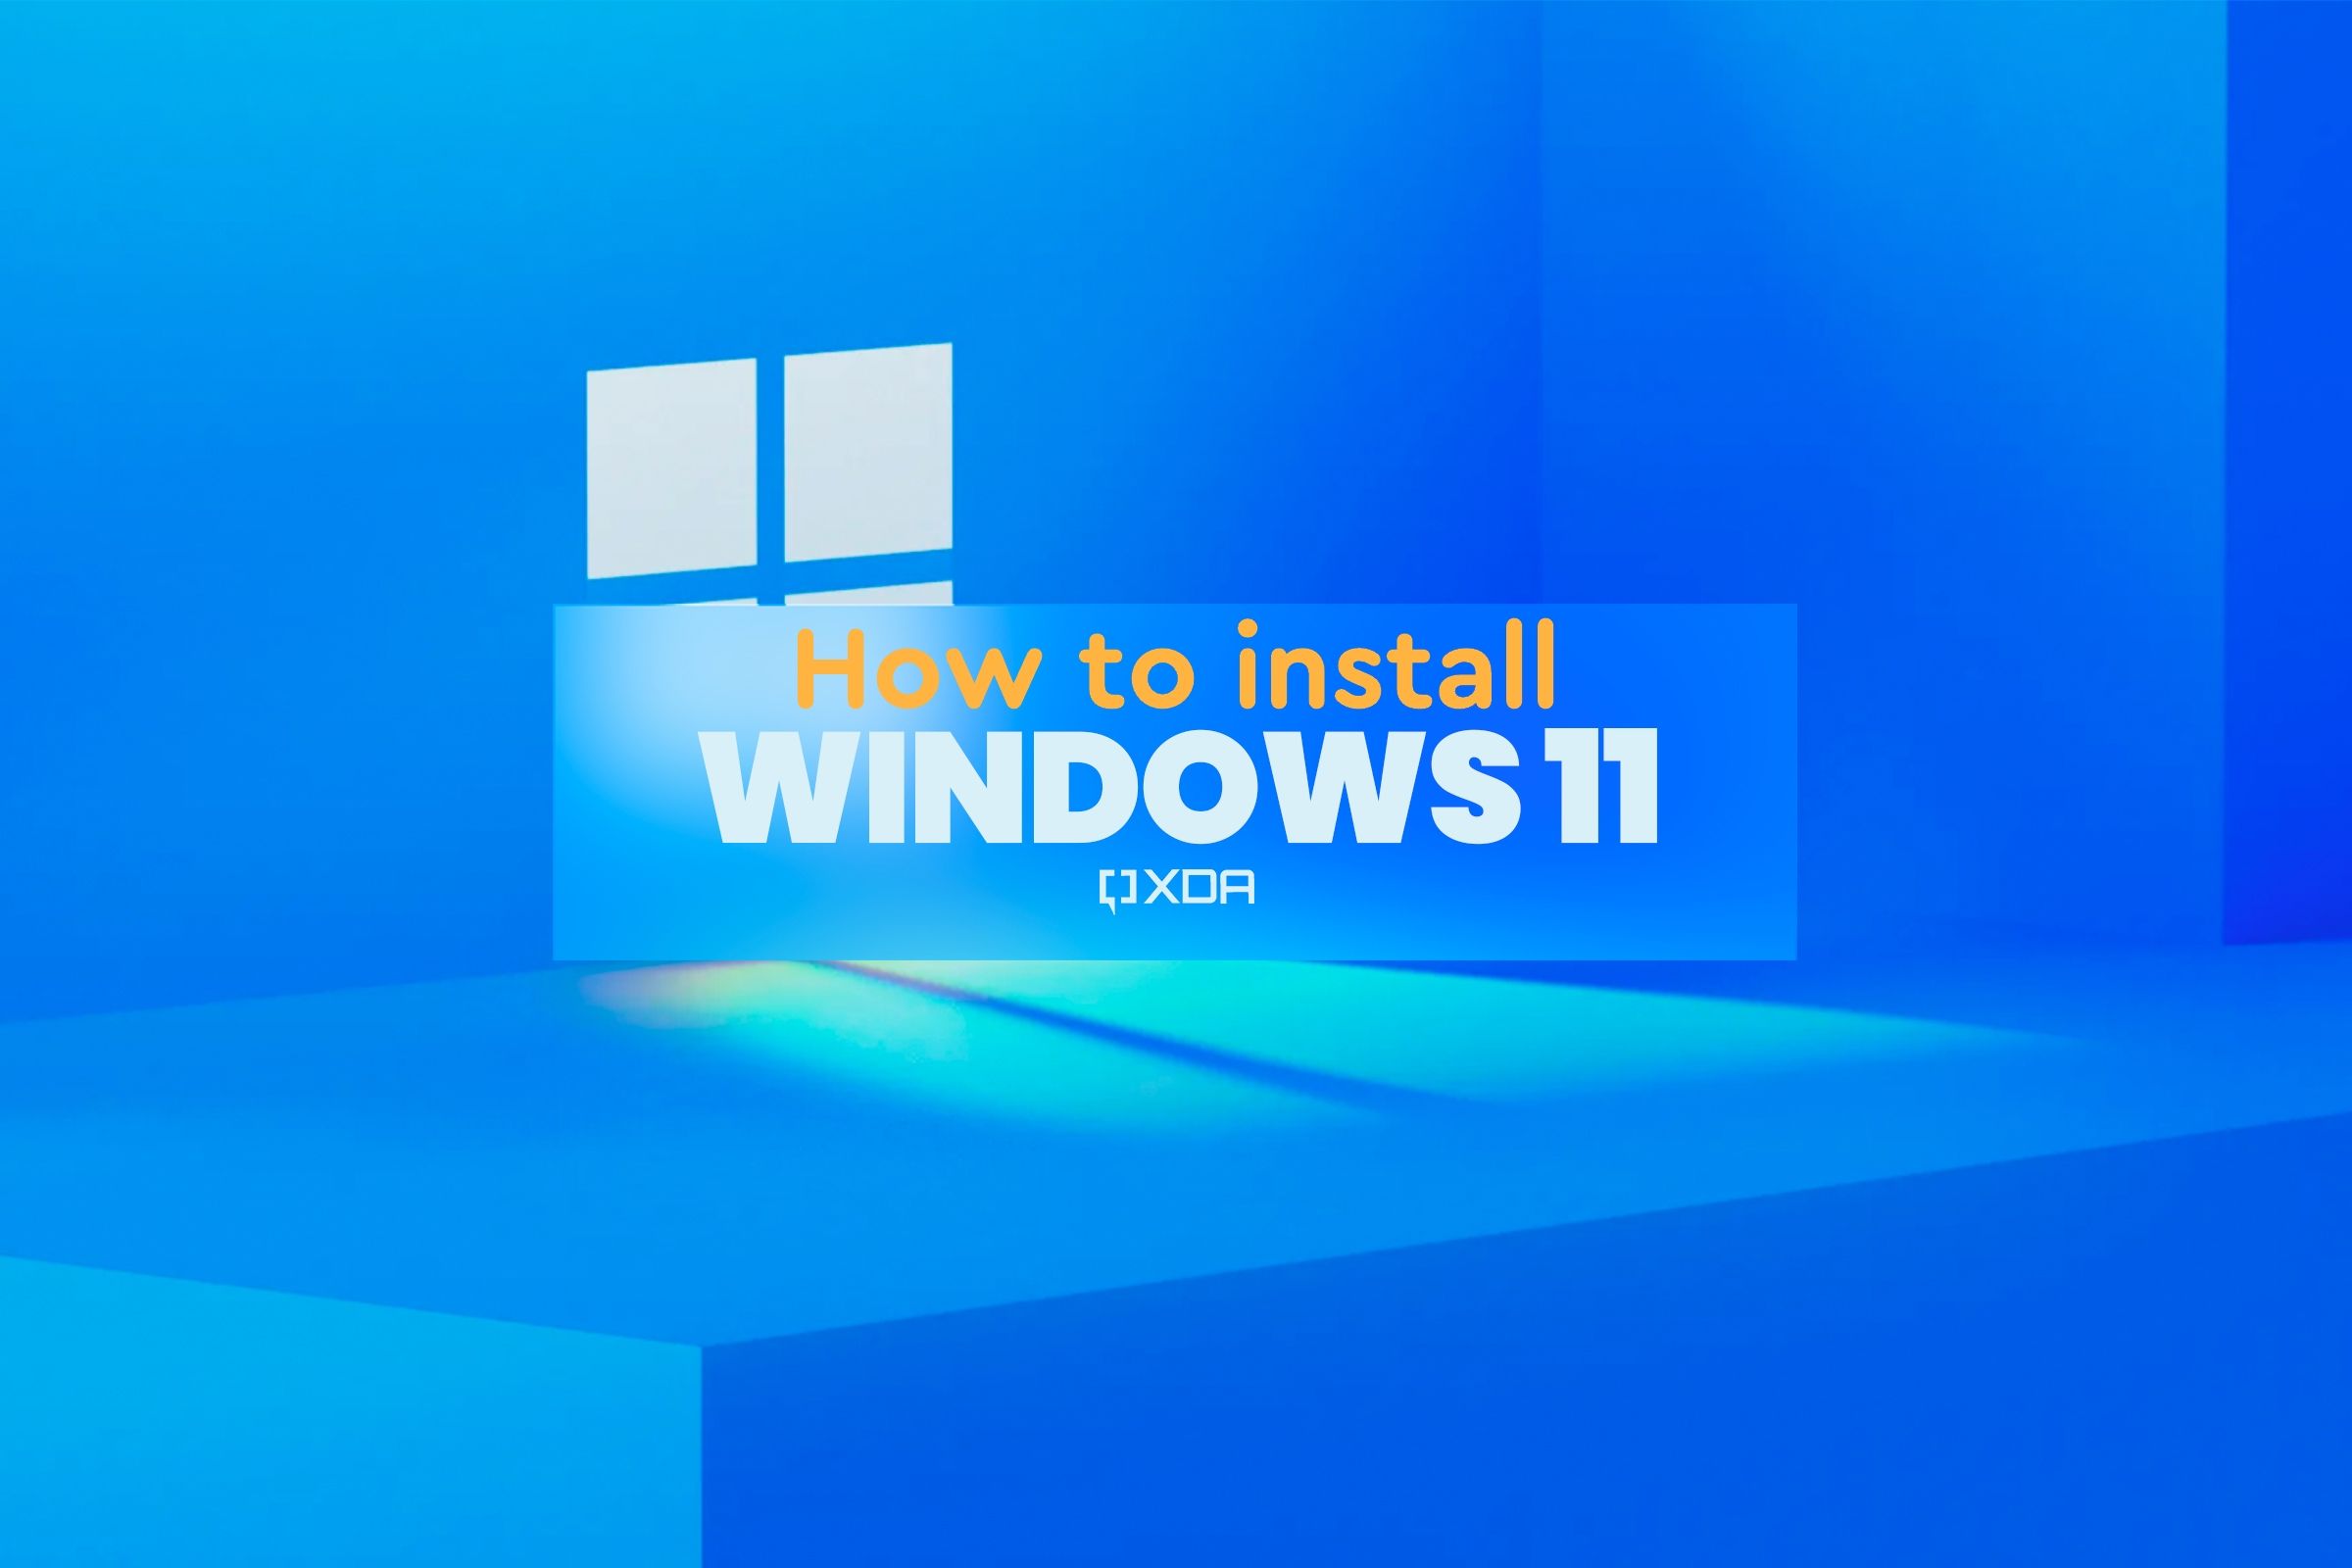
Troubleshooting Tips When Installing Windows 11 on a New PC
Troubleshooting Tips When Installing Windows 11 on a New PC
Blog Article
Installing Windows 11 from a USB push is really a convenient and common strategy, but it can occasionally provide difficulties or even performed correctly. That guide will walk you through the method step-by-step, ensuring an easy how to install windows 11 from usb.
Step 1: Always check Program Requirements
Before commencing the installment, confirm your pc meets the minimal needs for Windows 11. Some important requirements contain:
A compatible 64-bit model with 1 GHz or faster and at the very least two cores.
4 GB of RAM or more.
64 GB or more of storage.
TPM (Trusted Software Module) version 2.0 enabled.
Protected Start support.
Furthermore, guarantee you right back up all of your crucial knowledge, whilst the installation process may format much of your drive.
Stage 2: Obtain Windows 11 ISO File
To create a bootable USB drive, first obtain the official Windows 11 ISO file. This can be done from the Microsoft website. Assure you acquire the right edition to match the body architecture (e.g., 64-bit). Verify the strength of your ISO record in order to avoid issues all through installation by examining their hash value.
Stage 3: Create a Bootable USB Travel
You'll need a USB drive with at least 8 GB of storage for this step. Formatting the USB drive assures no recurring documents hinder the creation process. Work with a trusted instrument, such as for instance Rufus, to make a bootable USB. Choose your saved ISO file and configure the right adjustments:
Partition Scheme: GPT for UEFI systems or MBR for legacy BIOS.
Record Process: NTFS for documents larger than 4 GB or FAT32 for broader compatibility.
Press "Start" and let the procedure to accomplish without interruption.
Step 4: Arrange BIOS Settings
Entering your computer's BIOS is crucial for initiating the installation. System your personal computer and press the selected key (commonly F2, F10, or DEL) at boot. When in the BIOS:
Permit UEFI mode.
Collection the start goal, ensuring the USB drive is first on the list.
Confirm Secure Boot is permitted and TPM 2.0 is active.
Save your adjustments and reboot the system.
Step 5: Mount Windows 11
When your pc restarts, it should start from the USB drive. Follow the on-screen requests to:
Select language, time, and keyboard preferences.
Press "Deploy Now."
Enter the item critical or select "I do not have something key."
Choose the right partition to install Windows 11. If mistakes happen, remove the partition, develop a new one, and proceed.
Allow the installment to accomplish, all through which your system might restart several times.
By following that guide, you are able to confidently install Windows 11 from a USB drive without encountering errors. Benefit from the upgraded connection with Microsoft's latest operating-system! Report this page